How to turn a photo into an AI video
Turning a still photo into a short AI video is no longer about adding a basic zoom or pan. Modern image-to-video models can infer motion, camera movement, lighting changes, facial expressions and scene depth from a single image. The quality of the result, however, still depends heavily on the photo you start with and the instructions you give the model.
This guide explains the workflow we use at SupaPic when preparing a photo for a cinematic AI scene.
1. Start with a clean source photo
The best input is usually a sharp image where the subject's face is visible and not heavily covered by hair, sunglasses, hands or motion blur. A front-facing or slightly angled portrait gives the model more reliable facial information than a tiny face inside a full-body group photo.
Try to use:
- good natural or soft indoor lighting
- a face that occupies a meaningful part of the frame
- minimal blur and compression
- normal facial proportions without extreme filters
- one clear subject when the scene is designed for one person
A higher-resolution photo is useful, but clarity matters more than simply having a large file.
2. Choose a scene that matches the source
A scene should not fight the input photo. If your source is a close portrait, a scene built around a medium close-up usually produces a more natural result than one that expects a full-body action sequence.
SupaPic separates scenes by the number of people required and the type of transformation. Image-to-video scenes rebuild the environment around your reference photo, while video-to-video scenes can preserve motion and shot timing from a reference clip.
3. Describe motion, not just appearance
A useful AI video prompt tells the model what should happen over time. Instead of writing only “cinematic city at night,” describe the motion you expect:
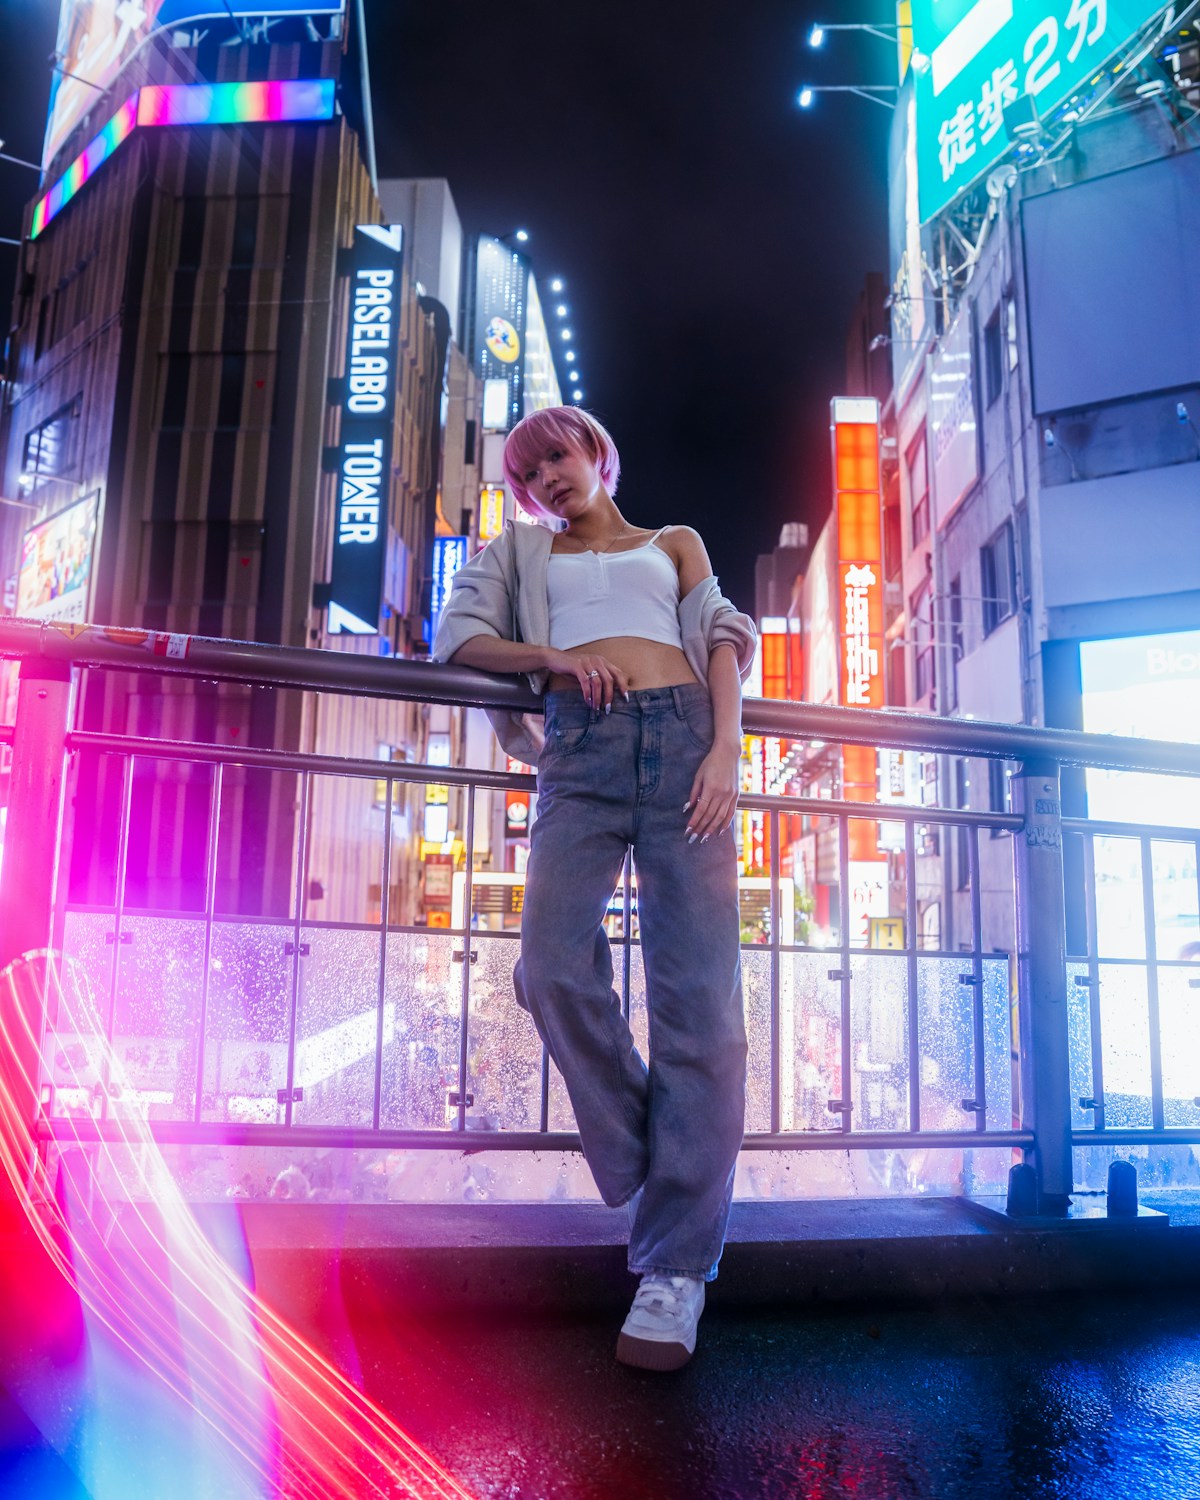
Better prompt: “The subject walks slowly past neon signs while the camera makes a gentle push-in. Natural head movement, subtle clothing motion, realistic reflections on wet pavement.”
Specific motion cues reduce random movement and make the clip easier to watch.
4. Keep the first generation simple
More instructions do not always mean a better video. Start with one primary action, one camera movement and a clear mood. Once the identity and motion look right, experiment with more complex directions.
Good first-generation combinations include:
- slow walk + gentle tracking shot
- relaxed pose + subtle camera push-in
- light head turn + shallow depth of field
- standing portrait + soft wind movement
5. Review identity and anatomy before style
A visually dramatic clip is not useful if the person no longer looks like the source photo. Check the face, hands, body proportions and continuity from frame to frame before judging color grading or visual effects.
If identity drifts, try a clearer reference photo before increasing prompt complexity.
Photo-to-video in SupaPic
SupaPic is designed around this workflow: choose a scene, add the required reference photo, start the generation and follow its progress from My Creations. Finished clips can be previewed in the built-in player and downloaded as MP4 files.
The goal is not to hide the AI process behind a “one click magic” claim. Better input still produces better output, and understanding the basics above can make a large difference.
Ready to try it? Create your SupaPic account and start with a short scene.