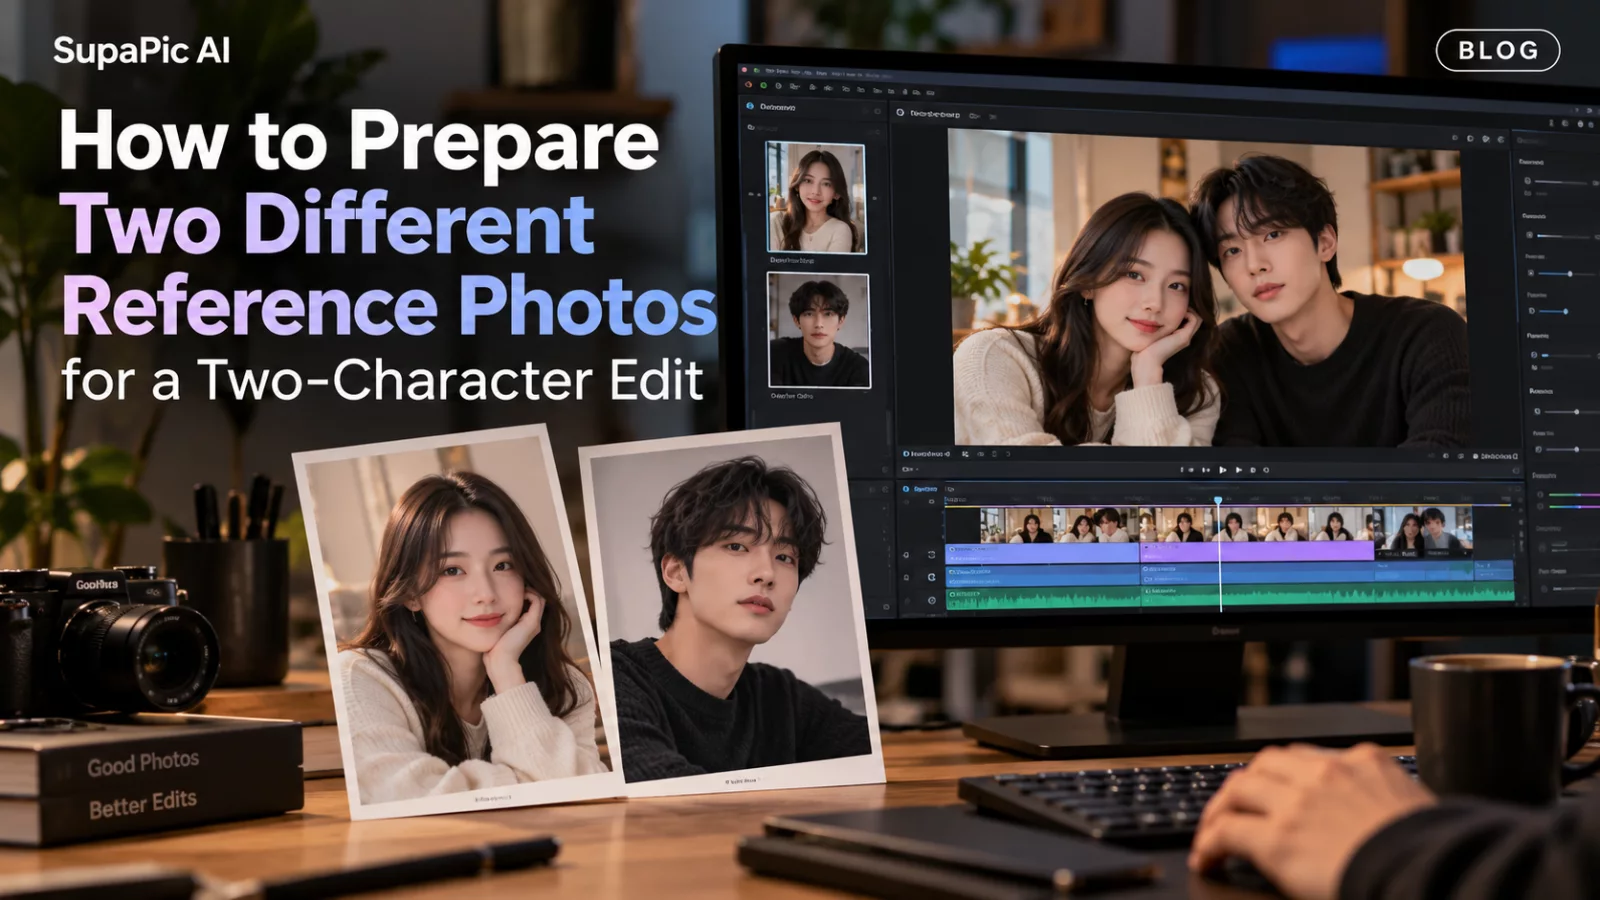
For a two-character video, the upload step is part of the directing process. It is not just attaching two image files. Each photo needs to represent a separate person and a separate role in the source scene.
Label the characters before uploading
Decide which source character is A and which is B. Use clothing and timing descriptions from the original clip rather than vague left/right labels that may change after a camera cut.
Then attach photo 1 to A and photo 2 to B. If the user interface names the roles, check those labels carefully before starting generation.
Aim for comparable photo quality
If photo 1 is a sharp portrait and photo 2 is a tiny social-media screenshot, the model may reproduce one identity much more reliably than the other. You do not need matching backgrounds, but both images should show recognizable facial features, hairlines and jaw shapes.
Try not to use one heavily filtered image alongside one natural photograph. Their styles can pull the generated scene in different directions.
Avoid group images as identity references
A photo containing several faces may leave the model unsure which person to use. Crop to a clear portrait of the intended subject when the provider allows it, while keeping enough space around the hair and chin.
If a tool expects multiple images of one person rather than one image per character, follow its specific rules; the same upload interface does not mean every model interprets image slots identically.
Test both mappings
Do not approve the render merely because character A looks accurate. Find the moment where character B appears, then check that the second uploaded face is applied there and nowhere else. Watch for accidental changes to bystanders.
Two-person editing is a coordination problem. Clear photos and an explicit mapping often matter more than a long artistic prompt.